How to run

From sign-up to a finished task

Eight steps, in the order you meet them: create your account, choose a plan, pick a Bot, connect your apps, give it a task, watch it work, approve what matters and keep an eye on credits.

Create your account

Your administrator adds you by email and sends you a one-time link: open it, choose your password, and you are signed in. After that, open sign in and use your email address and password, or your Google or Microsoft account where your workspace offers it. Anyone not invited waits for an administrator's approval. See Signing in and adding people.

The first time, a short welcome and a tour point out the conversation, your Bots, the live computer, approvals and help.
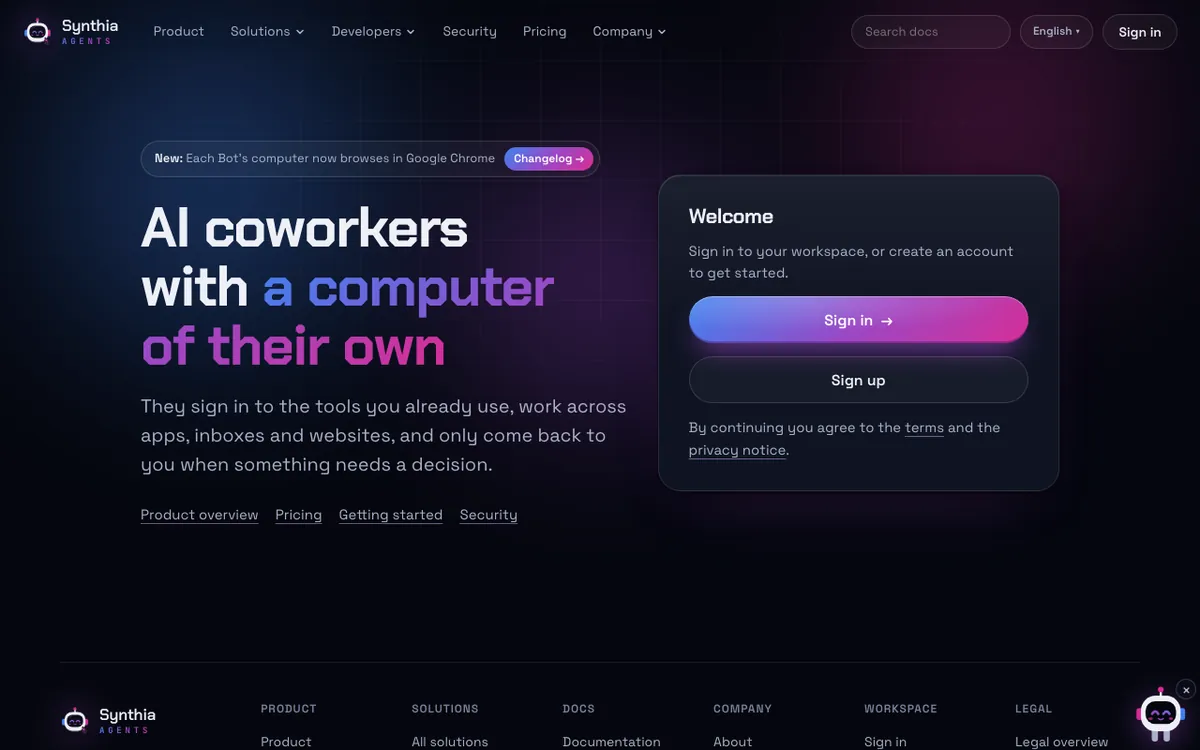

The sign-in screen, with Sign up beside Sign in.

Choose a plan

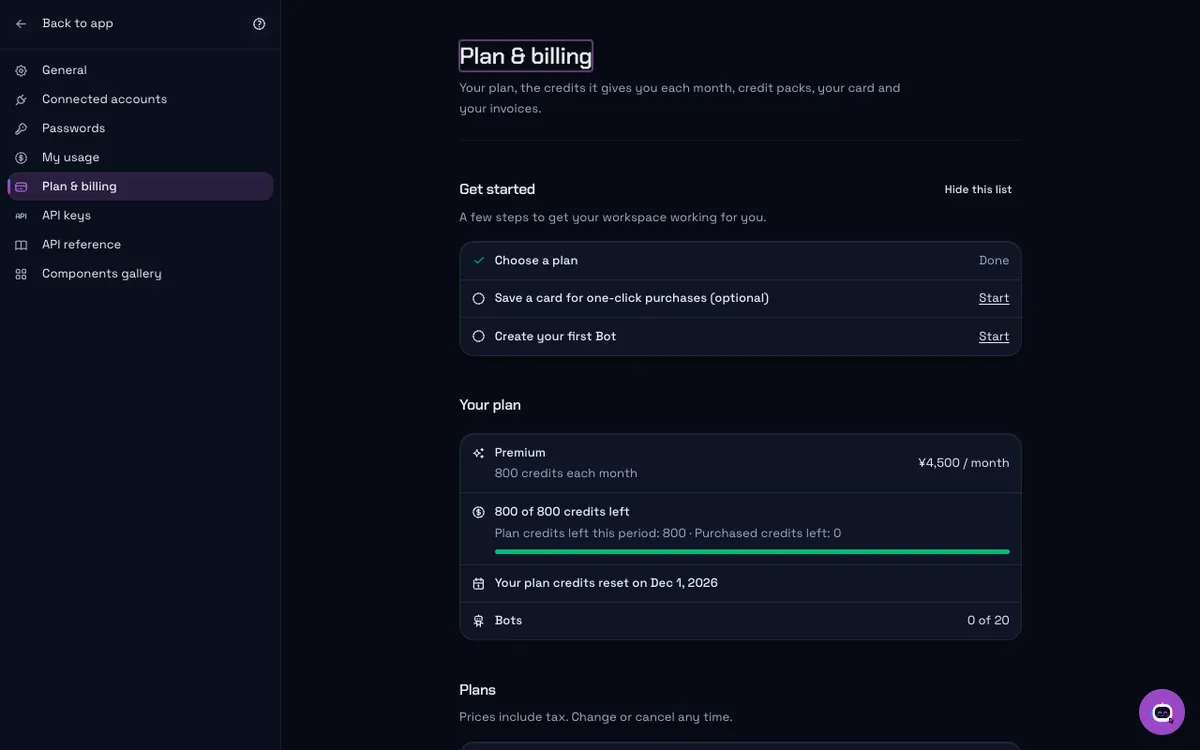
Plans and what they include are on the pricing page. Bots work on the credits your plan gives each month, and you can buy credit packs when you run low. Change or cancel under Settings › Billing.

Where your company runs its own workspace, the administrator decides whether billing is switched on.

Plans and credits on the pricing page.

Create or pick a Bot

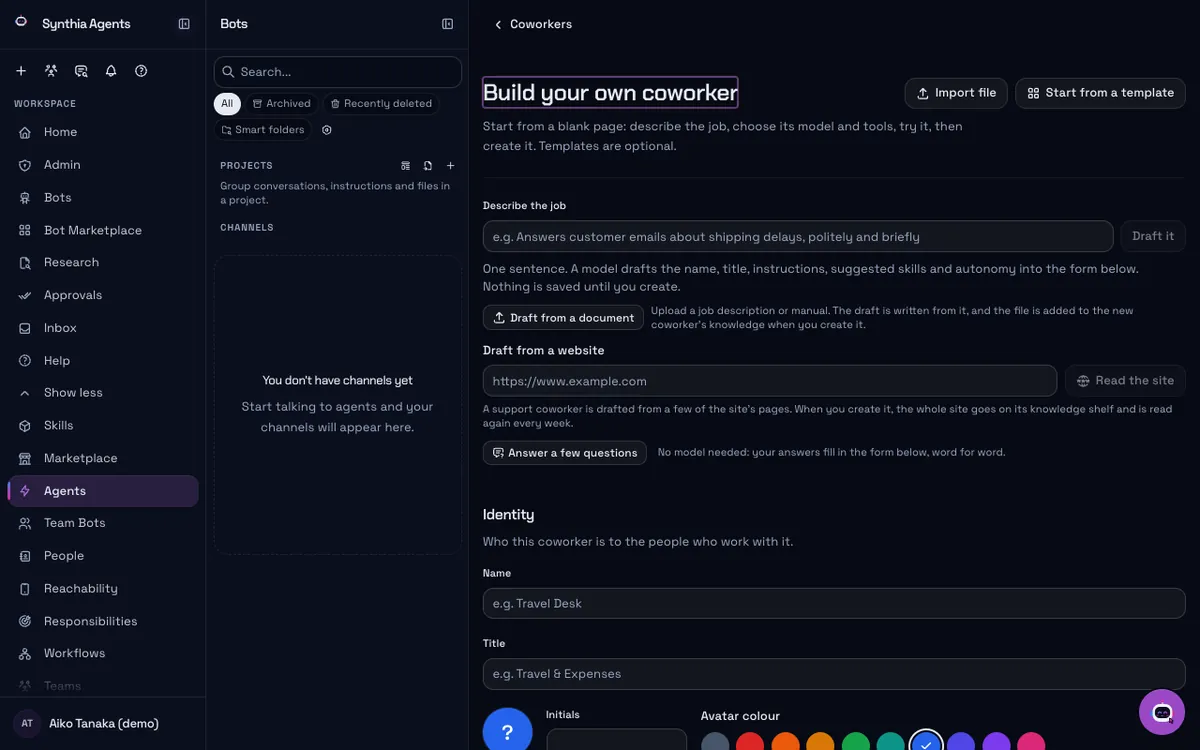
A Bot is an AI coworker with a job. Pick a ready-made one from the Bot directory and choose Add to my workspace, or choose Build your own, describe the job in a sentence and let the builder draft it. A new Bot is private until you share it.

A Bot Company, in the Bot Marketplace, creates a whole team of Bots for a kind of business, with an org chart and hand-off rules. Its Bots use marketplace credits, and an administrator decides whether it is available.

Your Bots, with Build your own.

Connect your apps

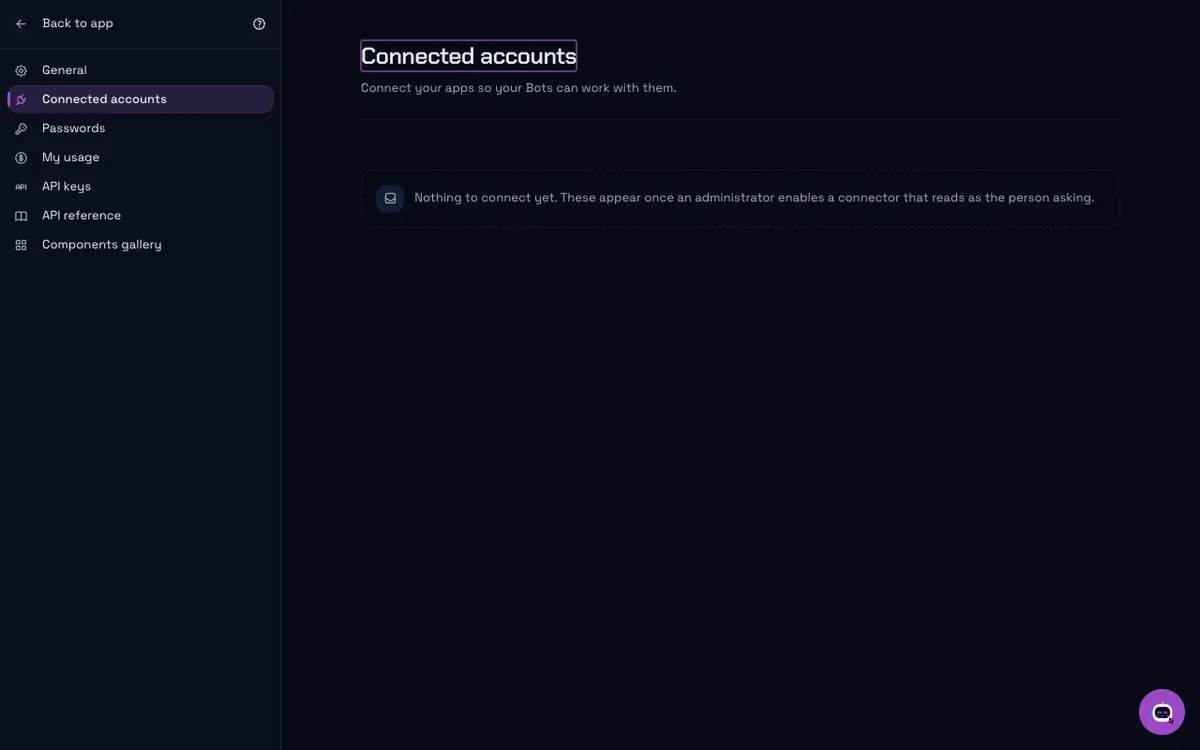
Under Settings › Connected accounts, connect the services your Bots should read as you, such as Google Drive, Notion, Gmail or Google Calendar. An administrator decides which services the workspace may reach at all. For any other website, a Bot uses its own computer and hands you the screen to sign in.

Everything that can be connected is on the integrations page.

Settings › Connected accounts.

Give it a task

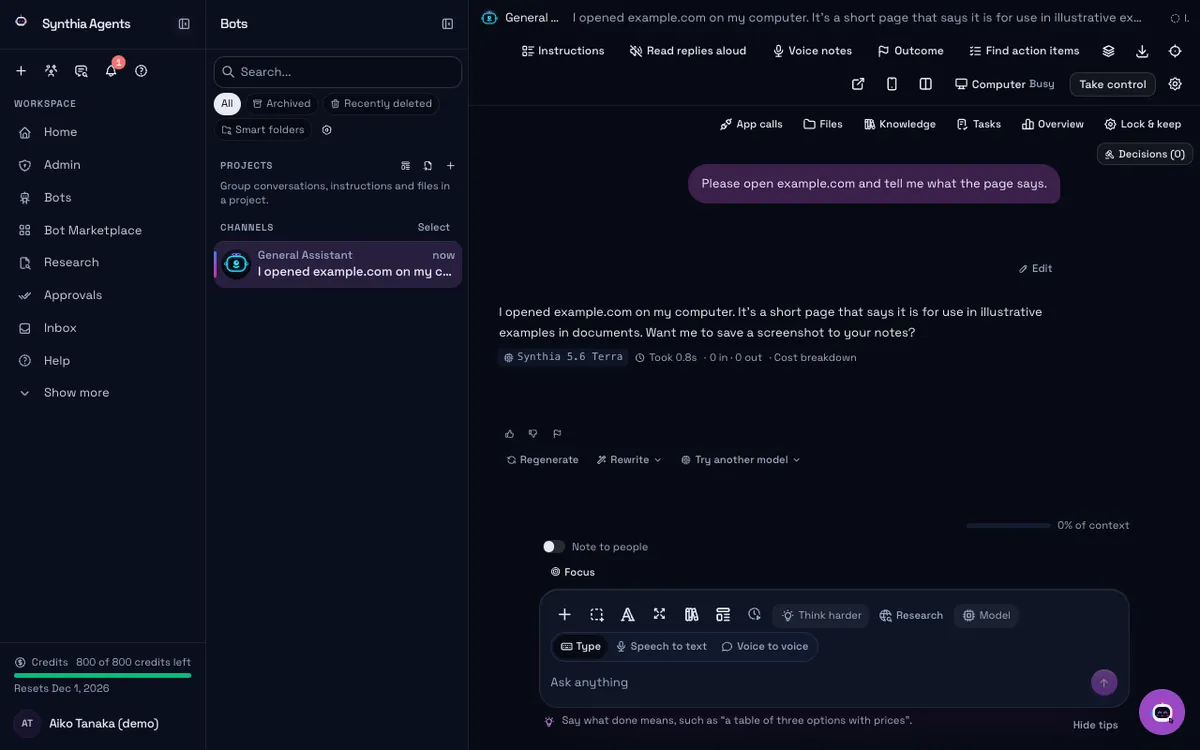
Type the task in the message box on your home page and mention the Bot with @, or leave the mention out and the message goes to the one that fits. Say what result you want and where it should go.

“Find the three newest invoices in the shared Finance folder and list their totals in a table.”

A task given in the conversation.

Watch it work

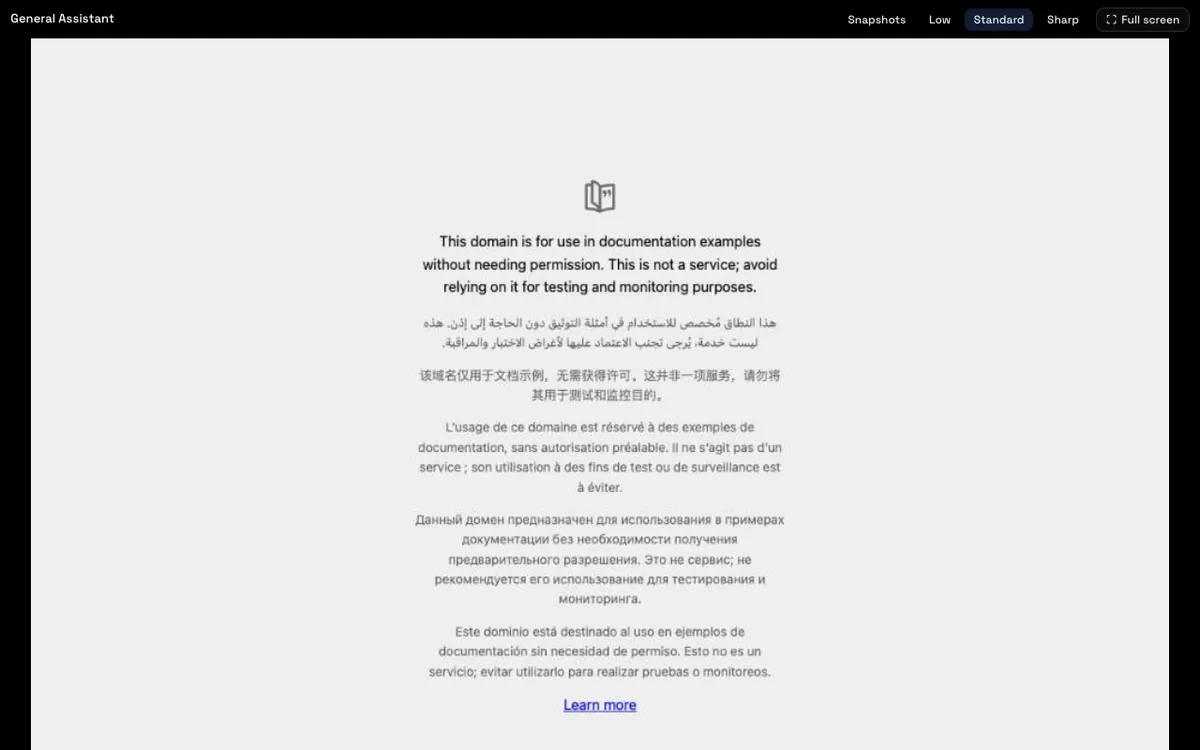
Choose Computer in the chat header to watch the Bot's own computer live: the browser it opens, the pages it reads, the forms it fills in. At a sign-in or a verification code, take control, type it yourself and hand it back.

More in the Bot's computer.

The Bot's computer, live beside the conversation.

Approve what matters

Before a new kind of action that changes something, such as sending, submitting or paying, a card Waiting for your approval appears in the chat and on Approvals. Read what it wants to do and what it saw, then choose Allow once or Deny.

You can also approve from your phone. What a Bot may do without asking is set in approvals and boundary rules.

Check your credits

Settings › Usage shows what your own work has used this month and the budgets you own; Settings › Billing shows your credits. Bots from the marketplace use more credits for the same work.

Administrators set monthly caps for each Bot and group in budgets and cost control.

Settings › Billing